If you want to replace the logo in Free SiteBuilder with your own logo, you must use a custom logo of the same dimensions and transparent background, otherwise this will not work and your website will look ugly.
To find what logo dimensions you need to use please follow these instructions:
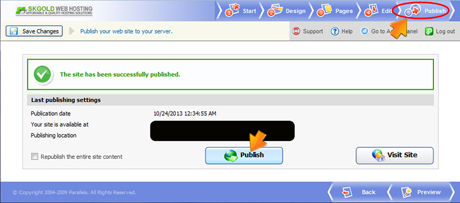
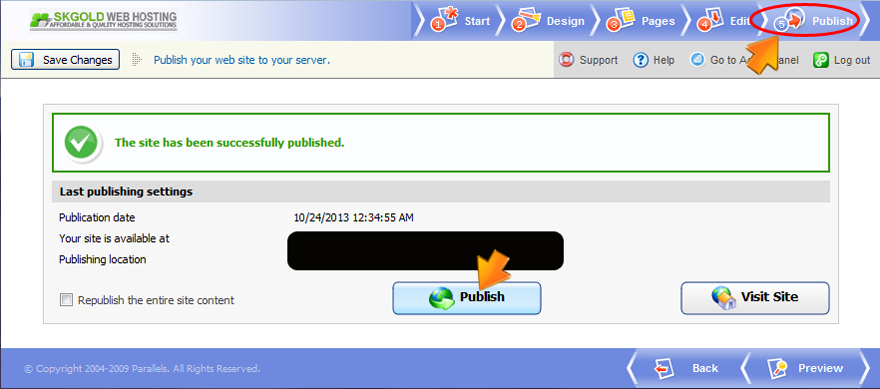
- Publish your website with the premade logo. In SiteBuilder go to step #5 entitled "Publish" and click on the "Publish" button.
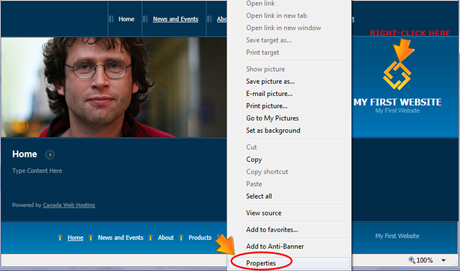
- Then view the properties of the logo in the web browser. In the Internet Explorer for example, right-click the logo and choose "Properties".
- In the popup window view the logo dimensions (height and width).
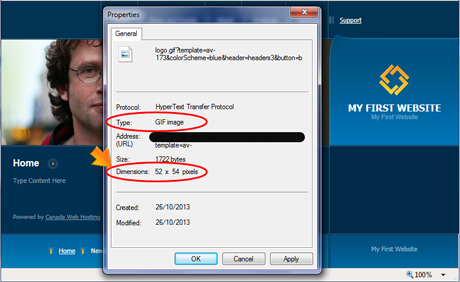
- Now you will need to create your custom logo in .GIF or .PNG format with the same dimensions and transparent background. Use an image editor of your choice. We suggest using Photoshop.
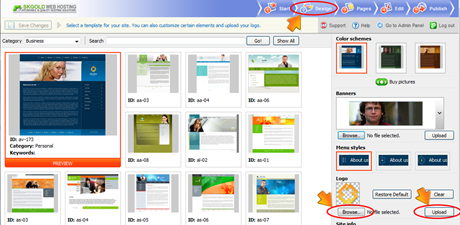
- Upload your own logo through your SiteBuilder’s admin panel. In step #2 entitled "Design" click the "Browse" button, find your logo and click the "Upload" button.
- Now go to step #5 entitled "Publish" and republish your website.
Feel free to open a support ticket through your client area if you have any questions and/or need help.